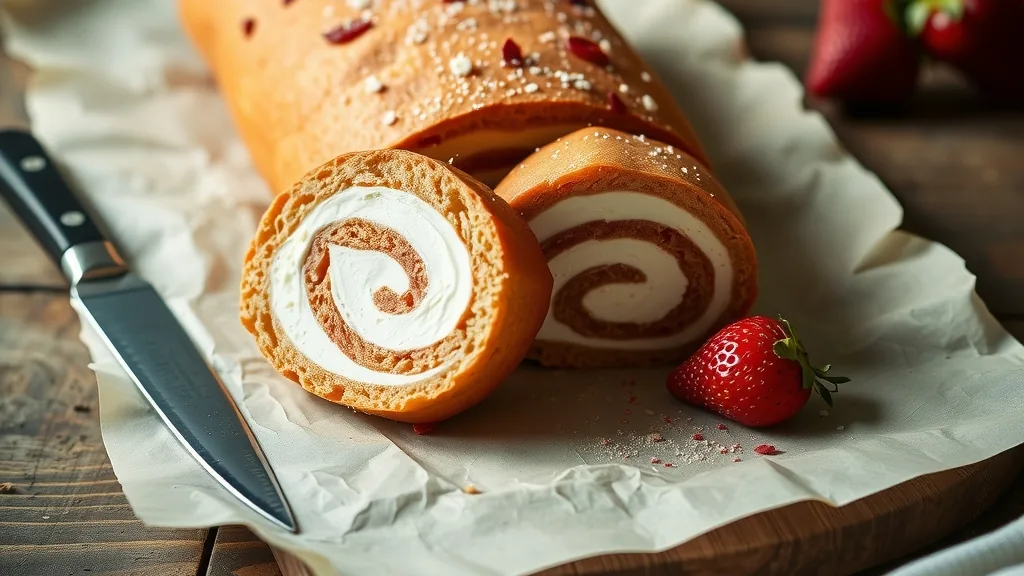
There is something undeniably enchanting about a perfectly swirled cake roll. The soft sponge. The creamy center. The elegant spiral revealed with every slice. Yet for many home bakers, this dessert feels like a risky challenge best left to professionals.
The truth is far more reassuring. With the right mindset and a few well-timed techniques, a beautiful rolled cake becomes approachable, reliable, and deeply satisfying. Especially when a cake mix is involved, complexity fades and confidence grows.
This guide is designed to replace hesitation with calm clarity—and turn a baking fear into a joyful success.
Why a Cake Roll Is Easier Than It Looks
At its heart, a cake roll is simply a thin sponge cake baked with flexibility in mind. Unlike dense layer cakes, this structure is designed to bend without breaking. Cake mix, when handled thoughtfully, provides consistency that actually increases success.
What often causes failure is not the recipe, but timing and temperature. When these elements align, rolling becomes intuitive rather than stressful.
The Science Behind the Roll
A successful cake roll relies on moisture retention and elasticity. Baking the cake thin allows heat to penetrate evenly, while prompt rolling trains the crumb to hold its shape. Waiting too long invites cracks; rushing invites collapse.
Understanding this balance changes everything.
The Foolproof Method That Builds Confidence
Preparing the Foundation for a Cake Roll
Choosing the right pan and lining it properly is the first quiet victory. A jelly roll pan creates the ideal thickness, while parchment ensures clean release. Greasing alone is rarely enough.
Cake mix simplifies ratios, but gentle mixing matters. Overmixing introduces rigidity. A light hand preserves tenderness, which is essential for a smooth cake roll.
Baking for Flexibility, Not Color
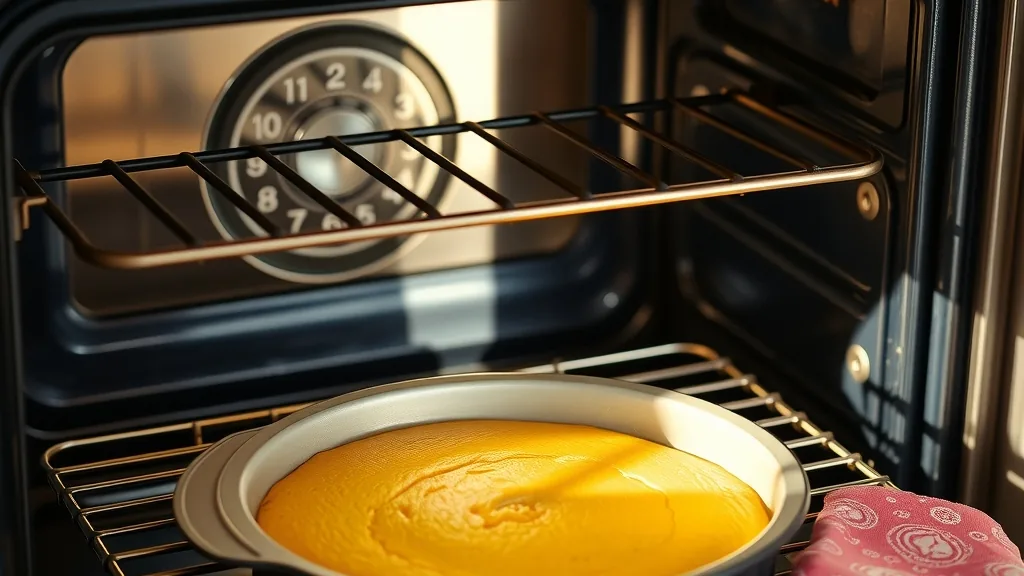
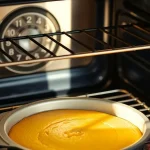
Unlike traditional cakes, this sponge should be baked just until set. Overbaking is the most common reason a cake roll cracks. The surface should spring back lightly, not brown deeply.
This restraint may feel unfamiliar, but it protects the final texture.
Rolling While Warm: The Defining Moment
The defining step in every successful cake roll happens while the cake is still warm. Rolling it gently with parchment or a towel allows the structure to adapt before cooling.
Comparison:
Rolling after cooling: surface fractures, filling leaks
Rolling while warm: seamless curve, professional finish
This step conditions the cake to accept filling later without resistance.
Filling Choices That Elevate Texture and Flavor
Once cooled and unrolled, the filling becomes the emotional heart of the cake roll. Whipped cream offers lightness. Cream cheese adds richness. Fruit preserves introduce contrast.
Balance matters. Overfilling overwhelms structure. A thin, even layer ensures harmony between sponge and center.
Common Mistakes—and Why They’re Avoidable
Even imperfect results teach valuable lessons. A cracked cake roll often signals dryness. Sticky surfaces suggest underbaking or humidity.
These are not failures. They are feedback.
Each attempt builds familiarity, and familiarity builds confidence.
Storage and Presentation That Preserve Beauty
Wrapping the finished cake roll tightly and chilling it briefly allows the filling to set and the spiral to define itself. This step enhances slicing precision and visual appeal.
Dusting with powdered sugar or glazing lightly adds elegance without excess.
Creative Variations That Feel Effortless
Once the basic method feels comfortable, creativity follows naturally. Chocolate sponge with vanilla cream. Lemon cake with berry filling. Seasonal flavors transform the cake roll into a versatile centerpiece rather than a one-time project.
Using cake mix as a base frees mental health space for exploration rather than worry.
Bake With Ease and Intent
The next time a dessert calls for something special, consider a cake roll. The method is gentle. The results feel celebratory. And the process rewards patience more than perfection.
Start with one box of mix. Follow the timing. Trust the warmth. Let experience guide improvement.
A Dessert That Builds Quiet Pride
A well-made cake roll carries more than flavor. It carries confidence. Each successful swirl proves that elegant baking does not require complexity—only understanding.
With care, calm, and the right approach, this dessert becomes not just achievable, but deeply enjoyable. And once mastered, it earns a permanent place in any happy baker’s repertoire.
A cake roll is a 15-minute bake, not a 30-minute one. Spread the batter about 1 cm deep in a 10×15-inch jelly roll pan, bake at 175°C / 350°F for 12–15 minutes, and roll while the sponge is still warm — that warmth is what keeps the surface from cracking.
Pan
Batter
Oven
Time
Cue
10×15 in jelly roll
4 cups (about 950 g)
175°C / 350°F
12–15 min
Springs back, 93–95°C internal
9×13 in sheet pan
4 cups (about 950 g)
175°C / 350°F
15–18 min
Trim dry edges before rolling
12×17 in half sheet
5 cups (about 1,190 g)
175°C / 350°F
11–13 min
Thin sponge, roll immediately
Timing after the oven matters as much as the bake: rest the sponge 2 minutes on a sugared towel, roll it while warm, cool seam-side down for 20 minutes, then fill and chill 1–2 hours so the spiral holds when sliced. A serrated knife, wiped between cuts, keeps the cream layers clean. Compare the crumb with how to bake a cake step by step, borrow fillings from fruit cream cheese dessert recipes, and scale the batter with the weights in the vanilla naked cake guide. Reference: King Arthur ingredient weight chart. Reviewed and updated: November 16, 2026.
Why a Cake Roll Is Easier Than It Looks
At its heart, a cake roll is simply a thin sponge cake baked with flexibility in mind. Unlike dense layer cakes, this structure is designed to bend without breaking.
The Science Behind the Roll
A successful cake roll relies on moisture retention and elasticity. Baking the cake thin allows heat to penetrate evenly, while prompt rolling trains the crumb to hold its shape.
Preparing the Foundation for a Cake Roll
Choosing the right pan and lining it properly is the first quiet victory. A jelly roll pan creates the ideal thickness, while parchment ensures clean release.
Troubleshooting the Roll
If the cake cracks, it was probably overbaked or rolled too late. A cake that is still warm and pliable bends without breaking, so set a timer for two minutes less than the recipe suggests and test the surface with a light touch. A cracked roll is still delicious: place the seam underneath, cover it with filling, and dust the top generously with powdered sugar.
If the cake sticks to the parchment, loosen it with a thin spatula before turning it out. If the filling oozes at the edges, use less near the borders and leave a two-centimeter margin. Chill the finished roll for at least an hour before slicing so the layers hold their shape.
For a cleaner cut, warm the knife under hot water and wipe it dry between slices. Serve leftovers within three days, wrapped tightly and kept cold.
Bake one batch, write down what you changed, and adjust the next attempt rather than chasing a perfect result on the first try. A notebook beside the oven is more useful than a shelf of gadgets, and it turns each bake into a small lesson you can repeat.