Learning professional cake baking techniques from scratch is a foundational skill that transforms simple pantry staples into a celebratory centerpiece. Whether you are aiming for a light sponge or a dense, moist chocolate crumb, the process relies on precise chemistry and temperature control. By mastering the fundamentals of mixing, leavening, and heat distribution, you can ensure consistent results in your home kitchen every time you preheat your oven.
The Science of Ingredients and Preparation
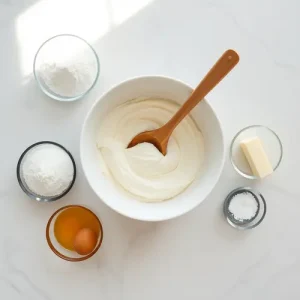
Baking is essentially a controlled chemical reaction. Flour provides the structure through gluten development, while sugar acts as a tenderizer by absorbing moisture. Fats, such as butter or oil, coat the flour proteins to prevent excessive gluten formation, resulting in a soft texture. Eggs serve as the primary binding agent, providing both structure and emulsification. If you are looking for more foundational techniques, check our Sitemap – Exquisite Pastries for Culinary Excellence for a full library of resources.
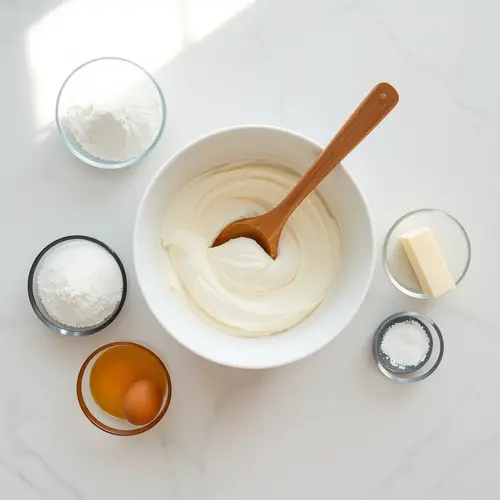
Before you begin, ensure your ingredients are at room temperature. Cold butter will not cream properly with sugar, which is essential for incorporating air into the batter. Use high-quality leavening agents like baking powder or baking soda, checking their expiration dates to ensure they remain active. Proper measurement is equally vital; using a digital scale is the most accurate way to ensure your ratios remain consistent. Always whisk your dry ingredients together to distribute the leavening agents evenly before introducing them to the wet components.
Mastering Professional Cake Baking Techniques for Consistent Results
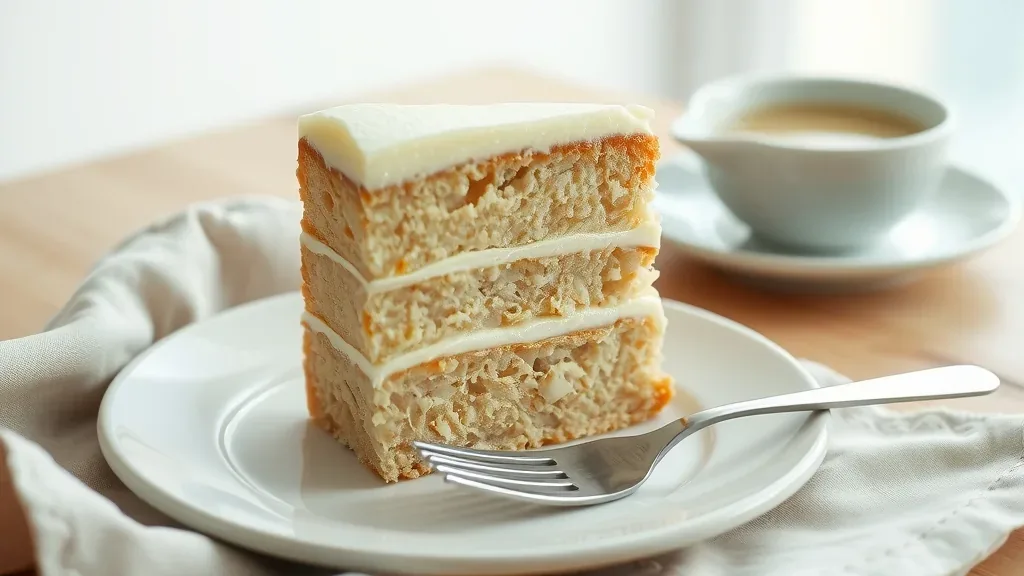
When learning professional cake baking techniques, the mixing method you choose defines the final texture. The creaming method, which involves beating butter and sugar until pale and fluffy, is ideal for classic yellow or pound cakes. Alternatively, the reverse creaming method—mixing dry ingredients with fat before adding liquids—creates a tighter, more uniform crumb. Regardless of the technique, avoid overmixing once the flour is added. Overworking the batter develops too much gluten, leading to a tough, rubbery sponge rather than a delicate, airy crumb.
Temperature management extends to your oven as well. Many home ovens have hot spots or inaccurate thermostats. Investing in an independent oven thermometer is a small step that yields significant improvements in your baking consistency. For more detailed information on managing heat, refer to How to Bake a Cake Step by Step: Pan Sizes and Temps to understand how different vessel materials impact the bake. Always preheat your oven at least twenty minutes before inserting the pans to ensure the ambient temperature is stable and ready for the batter.
Essential Equipment for the Home Kitchen
You do not need a professional-grade kitchen to produce high-quality desserts, but having the right tools makes the process much easier. A reliable set of aluminum cake pans with straight sides ensures even browning and a uniform shape. Parchment paper is non-negotiable; lining the bottom of your pans guarantees that your creation will release perfectly every time. A silicone spatula is also essential for scraping down the sides of your mixing bowl to ensure no unmixed pockets of flour remain.
Beyond the basics, a wire cooling rack is necessary to allow air to circulate around the finished product. If you leave a cake in the pan for too long, steam will build up, causing the bottom to become soggy. Cooling for ten minutes in the pan before inverting onto a rack is the standard practice for most recipes. Keep your tools clean and dry, and store your dry ingredients in airtight containers to maintain their freshness. Consistent professional cake baking techniques depend more on temperature control and accurate measurement than on expensive equipment. For those interested in expanding their repertoire beyond sponges, our Pie Dough Recipe: 7 Proven Steps for Flaky Results offers a great next challenge.
Comparing Common Baking Methods and Techniques
Not all cakes require a standard oven. While traditional baking remains the gold standard for texture and rise, alternative methods exist for specific needs or environments. Understanding the limitations of these methods helps you manage expectations regarding the final crumb structure and browning capabilities.
Method
Best For
Pros
Cons
Conventional Oven
All Cakes
Even browning, reliable rise
Long preheat time
Air Fryer
Small batches
Fast, energy-efficient
Limited capacity, uneven heat
Microwave
Mug cakes
Instant gratification
Rubbery texture, no browning
Stovetop/Jiko
Rustic cakes
No oven needed
Difficult to regulate heat
Each method requires adjustments to time and temperature. For example, using an air fryer usually requires lowering the temperature by 25 degrees Fahrenheit compared to a standard recipe to prevent the top from burning before the center is cooked through. Always prioritize the visual cues, such as the cake pulling away from the sides of the pan or a skewer coming out clean, rather than relying solely on the timer. These professional cake baking techniques adapt to any heat source once you understand how each method moves heat through the batter.
How to Bake a Cake Successfully Every Time
Achieving perfection with professional cake baking techniques comes down to troubleshooting common issues. If your cake sinks in the middle, it was likely under-baked or the oven door was opened too early, causing a sudden drop in temperature. If the top is domed and cracked, your oven temperature might be too high, causing the edges to set before the center has finished rising. For further reading on official baking standards and food safety, visit the USDA Food Safety and Inspection Service for guidelines on ingredient handling.
Practice patience during the cooling process. Cutting into a warm cake often results in a gummy texture because the starches have not fully set. If you are preparing for a holiday, you can bake many types of sponges in advance and freeze them. Wrap the cooled layers tightly in two layers of plastic wrap and one layer of foil. This technique is particularly helpful when preparing for Thanksgiving Desserts: 7 Proven Crowd Favorites 2026 or planning for Halloween Treats: 7 Proven Easy Party Recipes for Kids, as it allows you to focus on decorating when the event arrives.
Troubleshooting and Refining Your Technique
Even experienced bakers encounter challenges. If your crumb is too dense, you may have used too much flour or over-creamed the butter, leading to a loss of trapped air. Conversely, if the cake is too crumbly, it might lack sufficient binding agents or have been baked for too long. Keep a baking journal to record the specific brand of flour, the type of fat used, and the ambient temperature of your kitchen. These small details often hold the key to why a recipe worked perfectly one day but failed the next.
Finally, embrace the learning process. Baking is a craft that improves with repetition. Start with a simple vanilla or chocolate sponge to master the basic mechanics before moving on to complex layered creations. Once you feel confident, experiment with flavor infusions like citrus zest, extracts, or spices. By focusing on the fundamentals that underpin all professional cake baking techniques—accurate measurement, proper mixing, and precise temperature control—you will develop the intuition needed to create exceptional desserts that impress friends and family, turning every occasion into a celebration of your hard-earned skills.
What is the most common reason for a cake failing to rise?
The most frequent cause is expired leavening agents like baking powder or soda. If these ingredients are not fresh, they cannot produce the carbon dioxide needed to lift the batter. Additionally, opening the oven door too early can cause the structure to collapse before it has fully set.
Is it better to use butter or oil in a recipe?
Butter provides superior flavor and a delicate, tender crumb, making it ideal for classic cakes. Oil, however, remains liquid at room temperature, which keeps the crumb moist for a longer period. Choose butter for flavor-focused recipes and oil for those that need to stay soft for several days.
How can I tell if a cake is fully cooked without a thermometer?
The best visual cues are the edges pulling slightly away from the pan and the top springing back when lightly pressed with a finger. Alternatively, insert a wooden skewer into the center; if it comes out clean or with only a few moist crumbs attached, the cake is ready.